
Moving around the map
Drag to pan, pinch or scroll to zoom, and tap a province or army to open its details. Show on map returns you to your own territory at any time, which is useful after a long look across the world.
The top bar holds your resources. Tap any of them to read the balance and what it is used for. Panels for armies, provinces, commanders, mail, research and the Trade Exchange open from the interface; close them to return to the map.
What the colours mean
- Green territory is your own country. Your own armies carry white shields, so do not look for green on your units.
- Blue marks alliance territory and allied army shields. Alliance members share vision and territory display, there is no friendly fire between members, and members cannot capture each other's provinces.
- Red shields and markings identify hostile forces.
- Grey is a relationship marker on army shields for neutral countries and NAP partners. It is not a guaranteed territory fill; neutral land uses the map's neutral colouring.
Colour tells you the relationship. It does not tell you how strong a country is or what is inside its provinces. For that you need current sight.
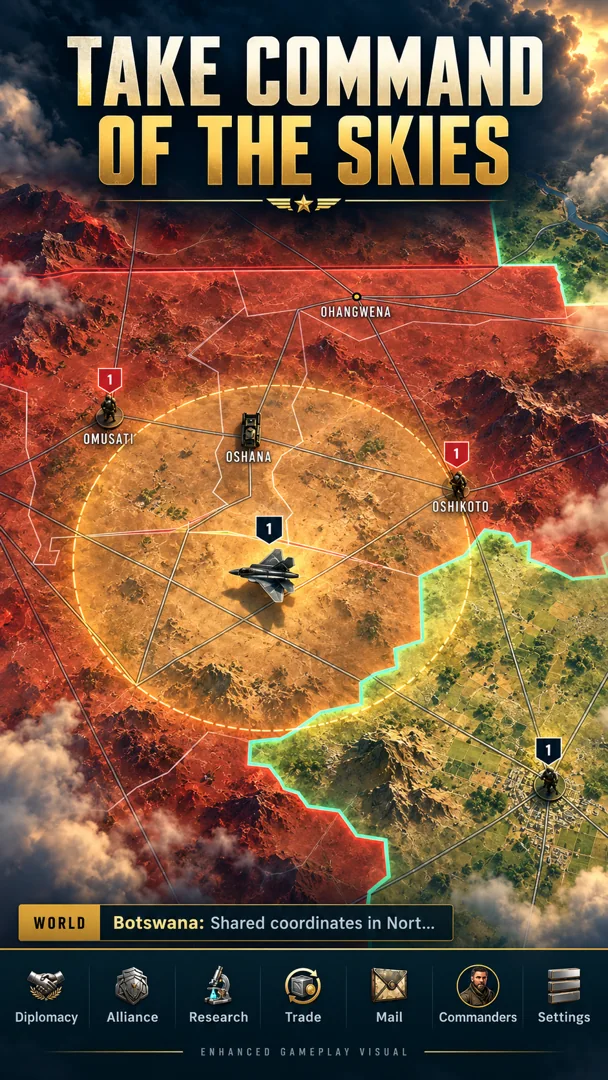
Enhanced gameplay visual — retouched, not a raw screenshot
Fog of war and sight
You see what your country can currently sense. Fog limits what you know about enemy troops: where they are, how strong they are and what is defending. An old combat report is a record of the past, not a live view.
Sight and weapon reach are separate. A unit can only target an enemy your country can currently see, even if the target is within its weapon distance on paper. Equally, seeing a target does not put it within range. Aircraft are a common source of confusion here: a jet with fuel to spare still needs sight of the target to attack.
Alliance members share vision, which is one of the strongest reasons to join one. Friendship is different: friends cannot attack each other, but their sensors are not shared with you.
Contested Land
Contested Land is a special region with its own rules. Ground troops and tanks can enter it only across its nine bridges and then march through its interior. Capture and occupation are disabled there: you can fight in Contested Land, but you cannot take it as a province.
Plan Contested Land operations as movement and combat only. Pick the bridge that serves your route, expect other commanders to do the same, and do not send troops expecting to hold ground there as territory.
Antarctica is permanently unplayable
Antarctica is outside the playable world and always will be. Do not try to land, route or base there. Plan all naval landings and air routes for playable coastlines and territory.
Settings and audio
Audio controls play a live preview as you move them, so you can hear a level before committing to it. Previewing does not save anything: your changes are stored only when you press Apply. Set them once at the start of a campaign, especially alert sounds, so that warnings on your phone are audible without being exhausting.
Map-reading checklist
Before any significant order, run through the map in this order.
- Confirm the colour of the destination: own, alliance, neutral, NAP or hostile.
- Check whether you have current sight of the target, not an old report.
- For aircraft, confirm sight as well as fuel and range.
- Avoid planning routes through Antarctica or expecting to capture in Contested Land.
- Open live unit details for current range and speed.
Common map mistakes
The map is honest, but it is easy to read it carelessly.
Common mistakes
- Trusting an old battle report. It shows history. Scout again.
- Assuming a friend shares vision. Only alliance members share sight.
- Marching into Contested Land to claim it. Capture is disabled there.
- Treating visible as targetable at any range. Sight and reach are separate checks.
Scenario: reaching an enemy across Contested Land
Contested Land punishes improvised routes, so plan this kind of move deliberately.
Field scenario
Your target lies beyond the Contested Land interior
Pick the nearest of the nine bridges, march your ground formation across it and through the interior, then out the far side. Use alliance vision to check the exit before you commit. You will not gain territory along the way, so move with intent and do not linger.
Continue the field manual
Next: Servers, accounts, Gold and trade · Back: Getting started